
Series: Part 1 Part 2 Part 3 Part 4
The Basics
Overview
Licensing users for Office 365 services is pretty easy in the administrative center using your web browser, but if you have more advanced needs or you’re automating your Office 365 tenant configurations, you’re going to need PowerShell. However, licensing users with PowerShell is complex and can be a bit of a pain. In this blog series I’ll go over how to assign licenses to users and how to selectively enable the service plans contained in each license sku. We’ll even go over some advanced scenarios that will help you fully automate all your user licensing as well as reactively change or update user licensing as user roles change within your company.
Connect to Azure Active Directory
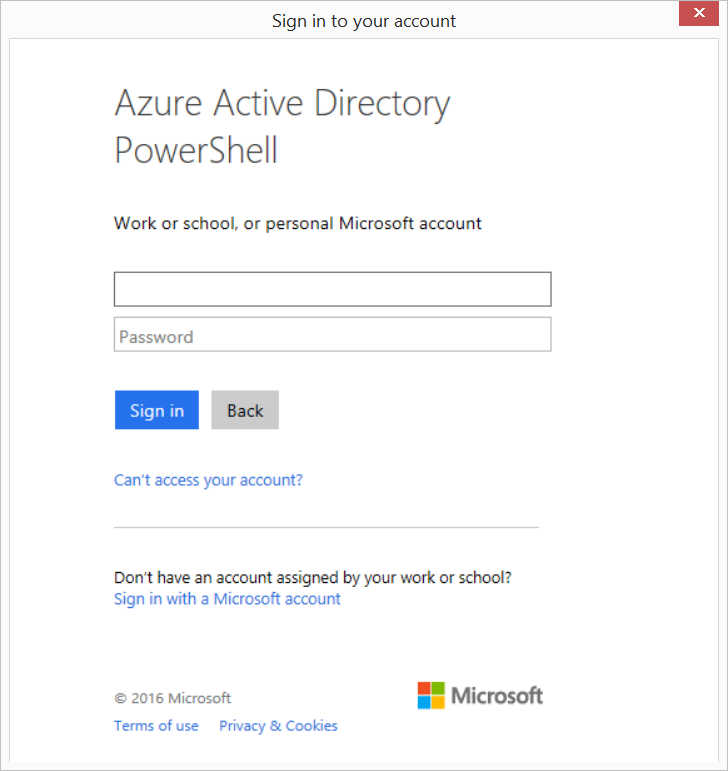
The first step to using PowerShell for Office 365 licensing is learning how to connect to the Office 365 environment so that we can run commands against our tenant. There are a couple of prerequisites:
- PowerShell version 2.0 or above (I recommand at least version 3.0)
- The Azure Active Directory PowerShell Module (MSOnline)
- A global administrator account for your Office 365 tenant
Once all of these are installed, we can connect to Office 365 using this command:
PS> Connect-MsolServiceWe’ll be prompted for credentials here - enter the username and password for our admin user and follow the prompts to indicate whether this is a Microsoft account or a work or school account.
We can also specify a credential at the command line by saving a credential object first:
PS> $Credential = Get-Credential
PS> Connect-MsolService -Credential $Credential
This command will display all the available commands in the MSOnline module - 91 at the time of writing:
PS> Get-Command -Module MSOnline

CommandType  Name                              Version  Source
-----------  ----                              -------  ------
Cmdlet       Add-MsolAdministrativeUnitMember  1.0      MSOnline
Cmdlet       Add-MsolForeignGroupToRole        1.0      MSOnline
Cmdlet       Add-MsolGroupMember               1.0      MSOnline
Cmdlet       Add-MsolRoleMember                1.0      MSOnline
Cmdlet       Add-MsolScopedRoleMember          1.0      MSOnline
Cmdlet       Confirm-MsolDomain                1.0      MSOnline
Cmdlet       Confirm-MsolEmailVerifiedDomain   1.0      MSOnline
Cmdlet       Connect-MsolService               1.0      MSOnline
Cmdlet       Convert-MsolDomainToFederated     1.0      MSOnline
Cmdlet       Convert-MsolDomainToStandard      1.0      MSOnline
Cmdlet       Convert-MsolFederatedUser         1.0      MSOnline
Assign a license sku
Next we’ll need to find an unlicensed user that we can provision Office 365 services for, and the appropriate license to add. To find a user, use the Get-MsolUser cmdlet:
PS> Get-MsolUser -UnlicensedUsersOnly

UserPrincipalName                DisplayName       isLicensed
-----------------                -----------       ----------
Abe.Lincoln@whitehouse.gov       Abe Lincoln       False
Grover.Cleveland@whitehouse.gov  Grover Cleveland  False
Ronald.Reagan@whitehouse.gov     Ronald Reagan     False
Pick one of the users returned and copy the UserPrincipalName property. Next we’ll find the license we want to assign using the Get-MsolAccountSku cmdlet:
PS> Get-MsolAccountSku

AccountSkuId                              ActiveUnits WarningUnits ConsumedUnits
------------                              ----------- ------------ -------------
whitehouse:ENTERPRISEPACK                 25          0            4
whitehouse:PROJECTONLINE                  25          0            7
What is returned by this cmdlet depends on what subscriptions you have purchased for your Office 365 tenant. The sku names are formulated using a combination of your tenant domain name and the license name. For now we’ll look at the one called ENTERPRISEPACK, which is called “Office 365 Enterprise E3” in the Admin Center. Now to assign this license to the user I picked, I’ll run this command:
PS> Set-MsolUserLicense -UserPrincipalName abe.lincoln@whitehouse.gov -AddLicenses whitehouse:ENTERPRISEPACKOf course, you’ll need to use the relevant user name and sku name from your tenant or you’ll probably be greeted with an error when you run this command.
This will add the license for this user and enable any service plans that are contained in that license - in my case, Exchange, Sharepoint, Office Web Apps, Yammer, Sway and Skype for Business.
Assign multiple licenses
You could also assign the ENTERPRISEPACK and the PROJECTONLINE skus at the same time:
PS> Set-MsolUserLicense -UserPrincipalName abe.lincoln@whitehouse.gov -AddLicenses whitehouse:ENTERPRISEPACK, whitehouse:PROJECTONLINEIf our user already has the ENTERPRISEPACK license assigned and we need to tack on the PROJECTONLINE subscription later, we can run this command:
PS> Set-MsolUserLicense -UserPrincipalName abe.lincoln@whitehouse.gov -AddLicenses whitehouse:PROJECTONLINEConclusion
In this article I’ve shown you how to assign a license sku to an unlicensed user, but we won’t stop there. In part two of this four part series I’ll show you how to add a license for a user and selectively enable the service plans contained in that license sku.
Thanks for reading and I hope you found this article useful!