
For those of us who write PowerShell scripts frequently, ISE Steroids version 2.0 comes with some exciting new features. My favorite feature is the graphical Snippet Manager. It extends the ISE’s code snippet capabilities far beyond what you get out-of-the-box. It allows you to easily define your own snippets in the ISE and assign shortcuts to each.
Once you have downloaded ISESteroids and unzipped it to your module path, run Start-Steroids from the ISE console window to launch it.
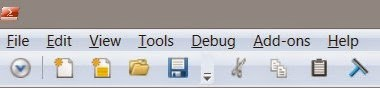
Click on the drop-down arrow just under the file menu to expand the ISE Steroids toolbar:
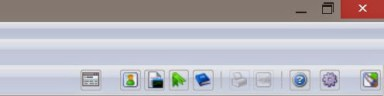
And then click on the Snippet Manager icon near the right-hand side of the toolbar:
You’ll then be greeted with the Snippet Manager Editor:
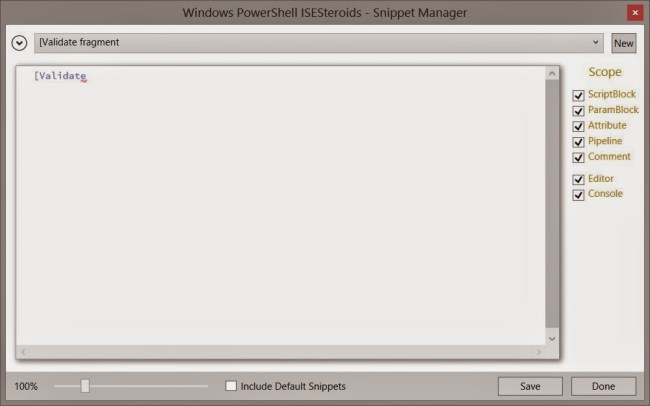
To create a new snippet, select New from the far right side of the editor. Below is a detailed view of the editor and its’ features:
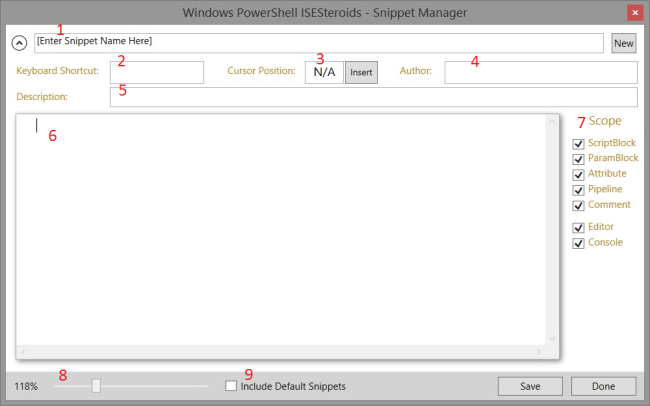
- Name – display for the snippet
- Keyboard Shortcut – the keyword that will identify the snippet
- Cursor Position – the position the cursor will be placed in after the snippet is inserted
- Author – your name here!
- Description – describe the purpose of the snippet
- Snippet Editor – graphical interface for entering the text of the snippet
- Scope – the context that the snippet should be available in
- Zoom Slider – increase or decrease the display size in the snippet editor
- Include Default Snippets – checking this box will allow Microsoft’s built in snippets to be displayed in the snippet menu
Your First Snippet
To create a snippet, simply enter some text in the snippet editor. A useful snippet is some PowerShell code that you type frequently when at the console or the script editor.
I frequently create advanced functions so I am going to create a template function for my first snippet. Microsoft includes an advanced function snippet in PowerShell by default, but it’s a very complex one with lots of parameter validations and things that I typically don’t need when creating a function from the ground up.
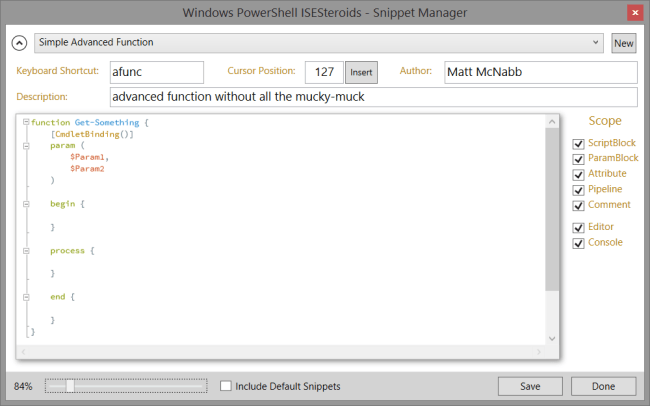
What you can see in the screen above is that I have a function declaration with CmdletBinding enabled, two parameters and the begin, process and end blocks. I have assigned the keyboard shortcut ‘afunc’ to this – I’ll show you how that works in just a moment.
I also configured the cursor position to 127 which is just inside the begin block. To do this, enter the cursor in a spot in the editor where you would like it to be positioned after the snippet is inserted and then click the Insert button. This will auto-calculate the cursor position so you don’t have to!
Also of note is the Scope option on the right-hand side of the editor. This defines under what conditions the snippet will be available under. For instance, I could leave only ‘Comment’ selected which would mean that the snippet would only be available while editing a line that was already commented. Note that the ‘Console’ scope only appears to apply to one-line snippets. My advanced function here will work in the editor but not in the console, even though console is selected.
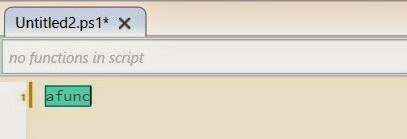
Now that you have all the options configured for your snippet you can click save and test it out. Back in the script editor, enter the text ‘afunc’ and you’ll see that it has a special green highlighting applied:
Press tab here and the snippet will be expanded out:
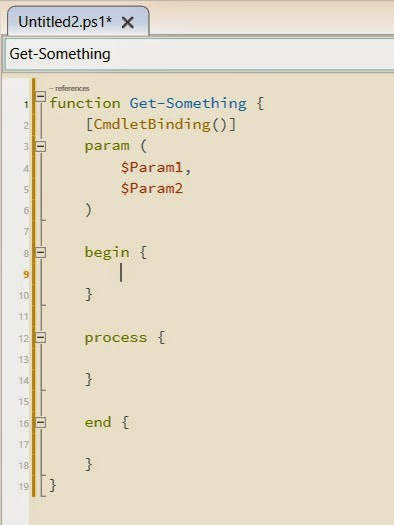
You can see that the cursor was placed just inside the begin block as we planned.
In case you were wondering, these snippets are saved to you default snippet directory in your Documents folder at WindowsPowerShell/Snippets/.
That’s all there is to using the ISE Steroids 2.0 Snippet Manager. Thanks for reading!